Checking the Wiring Connections
A thorough inspection of the wiring connections is essential when diagnosing a defective thermostat. Begin by turning off the power supply to the thermostat to ensure safety. Once the power is off, carefully remove the thermostat cover to reveal the wiring. Check for any loose wires, corrosion, or damage. Proper connections are crucial for the thermostat to communicate effectively with the HVAC system. If you notice any issues with the wiring, it may be necessary to consult a professional for Thermostat Installation and Repair.
After assessing the visible wiring, check the terminal screws where the wires connect. Ensure each wire is securely attached and that there are no frayed or exposed ends. Properly marked wires according to their designated terminals will help avoid confusion during reassembly. If you identify any inconsistencies or damaged components, addressing these issues promptly can prevent further complications. Seeking assistance might be beneficial if you are uncertain about making the repairs yourself.
Ensuring Secure and Proper Connections
When assessing your thermostat, the first step involves evaluating the wiring connections. Loose or corroded wires can prevent the thermostat from functioning correctly. It’s essential to turn off the power to the HVAC system before inspecting the connections. Carefully remove the thermostat cover and check if the wires are securely attached to their designated terminals. If any wires appear rusted or damaged, consider replacing them to ensure reliable communication between the thermostat and the heating or cooling system.
Proper connections are crucial for accurate thermostat performance. After verifying that all wires are securely fastened, check for any signs of wear or fraying. If necessary, consult a professional who specializes in Thermostat Installation and Repair. They can provide guidance on the correct wiring layout based on the specific model of your thermostat. Ensuring these connections are stable will help maintain system efficiency and prolong the lifespan of your heating or cooling equipment.
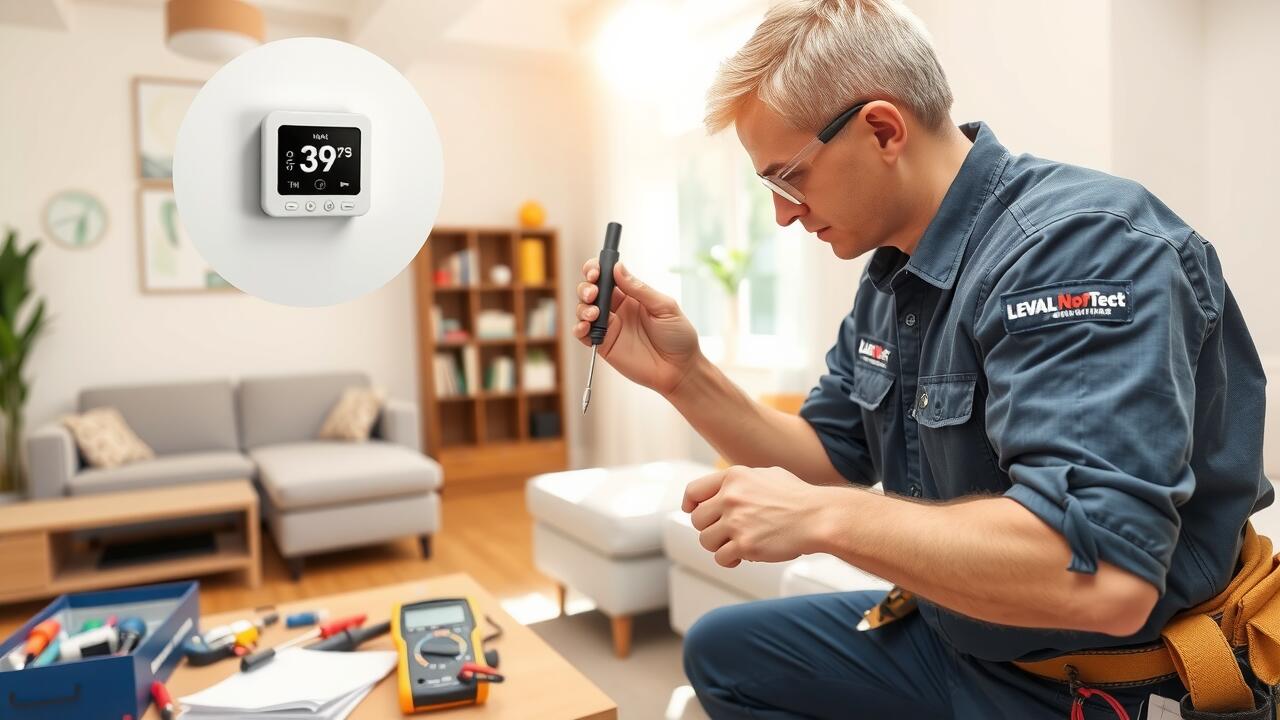
Testing the Thermostat with a Multimeter
Using a multimeter to test a thermostat can help identify whether it is functioning correctly. Begin by turning off the power to the heating or cooling system to ensure safety. Remove the thermostat cover to access the wiring. Set the multimeter to the resistance or ohms setting. You’ll want to check the wires connected to the thermostat to see if there’s continuity. A lack of continuity suggests that the thermostat may be faulty and needs replacement.
When conducting this test, ensure that all connections are secure before proceeding. Place one probe of the multimeter on one terminal and the other probe on the other terminal of the thermostat. A reading close to zero indicates a functioning thermostat. For further verification, professionals in Thermostat Installation and Repair often recommend comparing the readings against your system’s specifications. This process helps confirm whether the thermostat is accurately regulating the temperature or if it requires recalibration or replacement.
Step-by-Step Guide to Using a Multimeter
To test a thermostat with a multimeter, start by turning off the power to the thermostat and the HVAC system to prevent any electrical hazards. Remove the cover of the thermostat carefully to expose the wires and terminals. Set your multimeter to the appropriate testing mode, usually Ohms (Ω) for resistance testing. Touch the probes to the terminals where the wires connect. Ensure a firm connection to get an accurate reading, as loose contacts could lead to misleading results.
Next, observe the multimeter display to check the resistance level. A functional thermostat typically shows a specific resistance range. If the reading is significantly out of that range, the thermostat may be defective and require replacement. Document the readings, as they will be essential for troubleshooting during your Thermostat Installation and Repair process. After testing, reassemble the thermostat, restoring power to ensure the HVAC system functions correctly.
Calibration of the Thermostat
Calibrating a thermostat is essential for ensuring the accuracy of temperature readings and overall system efficiency. To achieve proper calibration, begin by comparing the thermostat’s reading with an accurate external thermometer. If discrepancies arise, adjustments can be made to align the readings. Be mindful of the time it takes for the internal temperature to stabilize, as this may affect initial observations.
When calibrating, consider consulting a professional for assistance if you encounter difficulties. Technicians specializing in Thermostat Installation and Repair possess the expertise to address calibration issues effectively. Regular calibration checks contribute significantly to optimal performance and energy savings in your heating and cooling systems.
How to Properly Calibrate for Accuracy
To properly calibrate a thermostat for accuracy, first ensure the device is level. Use a carpenter’s level to check its positioning. If it’s tilted, adjust the mounting bracket or screws to achieve a level alignment. Next, locate the calibration screw or settings, usually found behind the cover of the thermostat. Carefully turn this screw as directed by the manufacturer’s instructions, making small adjustments while monitoring the temperature readings closely.
After making necessary adjustments, it’s important to verify the accuracy of the thermostat. Compare its readings with a reliable thermometer placed nearby. Allow the system to run for a brief period to establish a stable temperature. If discrepancies are noted, further adjustments may be needed. Regular calibration contributes to efficient heating and cooling cycles, proving essential for effective thermostat installation and repair.
FAQS
What are the common signs of a defective thermostat?
Common signs include inconsistent temperature readings, the heating or cooling system not turning on or off when it should, or the thermostat displaying incorrect temperatures.
How can I check the wiring connections of my thermostat?
To check the wiring connections, turn off the power to your HVAC system, remove the thermostat cover, and inspect the wires for any loose or disconnected connections. Ensure that the wires are securely attached to their corresponding terminals.
What tools do I need to test my thermostat with a multimeter?
You will need a multimeter set to measure resistance (ohms), as well as a screwdriver to remove the thermostat cover and access the wiring.
How do I calibrate my thermostat for accuracy?
To calibrate your thermostat, compare its reading to a reliable thermometer placed nearby. If there is a significant difference, adjust the calibration screw or settings on the thermostat according to the manufacturer’s instructions until the readings match.
Can I replace a defective thermostat myself, or should I hire a professional?
You can replace a defective thermostat yourself if you are comfortable with basic electrical work and following instructions. However, if you’re unsure or encounter complications, it may be best to hire a professional to ensure proper installation.